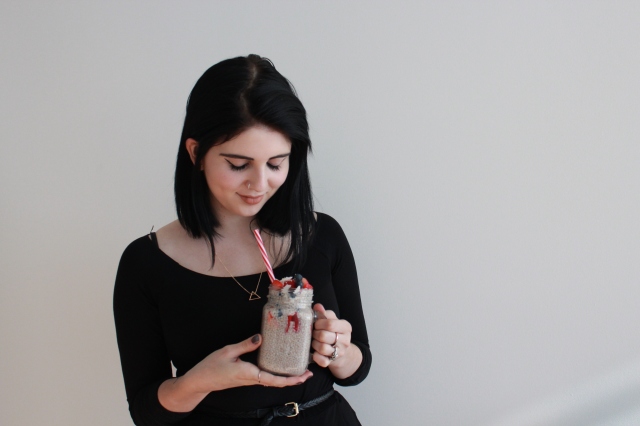
Post by Megan Stulberg
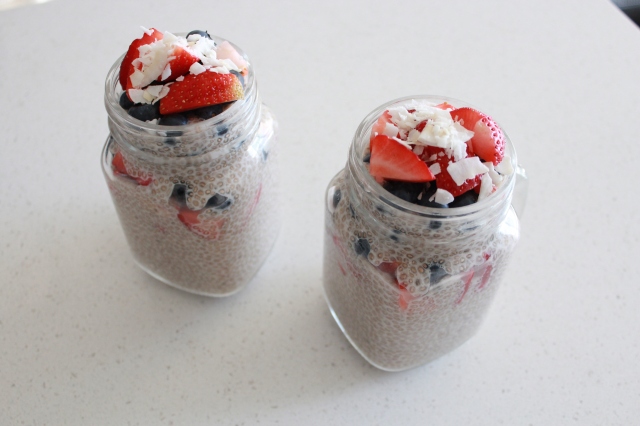
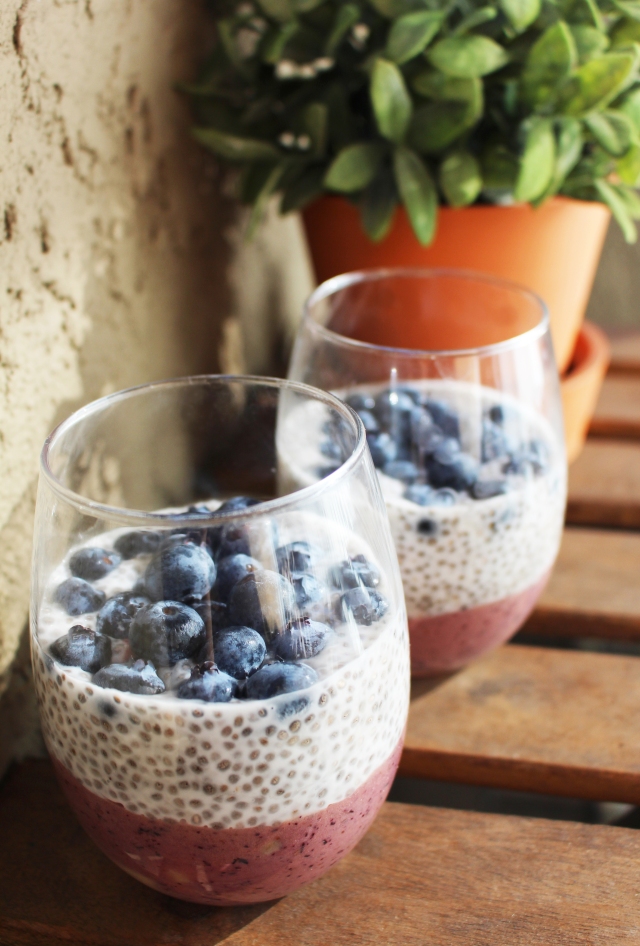
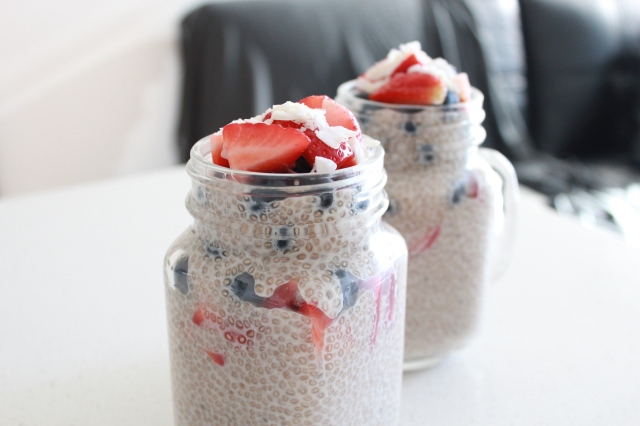
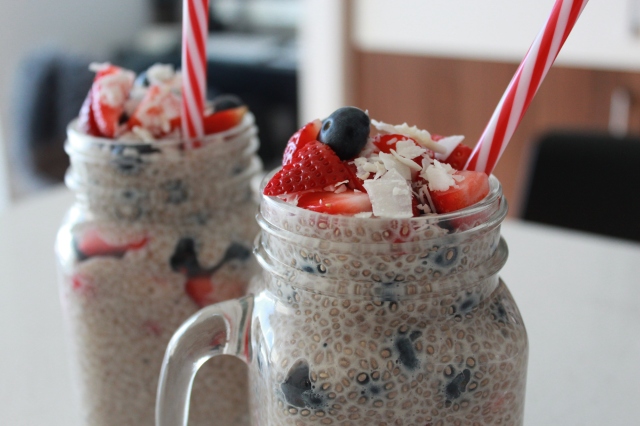
Breakfast! Break that frickin’ fast! But seriously, breakfast is important and people should make it a priority to eat it every day. If you don’t have a hearty appetite in the morning — try this blueberry nice cream and chia pudding parfait that I whipped up. It’s light and refreshing, but filling enough to keep you going until lunch. This recipe is vegan, gluten-free and raw.


Ingredients…
- 2 frozen bananas
- 2 cups light coconut milk (approx. 1 can)
- 1 cup fresh whole blueberries
- 1/4 cup 100% maple syrup
- 6 tbsp white chia seeds
- 2 tbsp pure vanilla extract
Directions…- Chop bananas. Place in plastic bag, then leave in freezer overnight.
- Whisk together coconut milk, maple syrup and vanilla in large bowl or plastic storage container.
- Add chia seeds by the tbsp, stirring vigorously with spoon to prevent unwanted clumping.
- Cover bowl with cling wrap and leave in fridge overnight.
- Next morning, stir chia pudding then place back in fridge for 1-2 additional hours to help it further thicken.
- Next, make the nice cream. Remove frozen banana chunks from freezer. Using a food processor or blender, combine with 1/2 cup blueberries until smooth and creamy. Be careful not to over blend or else you’ll get a smoothie — which is also good, but not quite the goal here.
- When ready to serve, scoop chia pudding into mason jars or clear bowls by the spoonful. Layer with the blueberry nice cream, or top with remaining blueberries.
Serve chilled. Makes 2 meal servings or 4 snack servings. Enjoy!


 Directions…