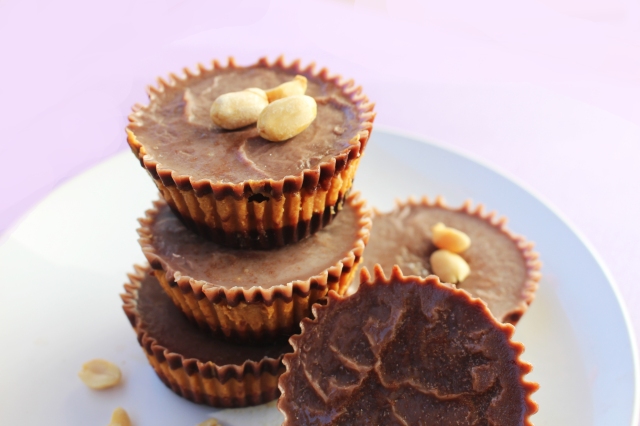
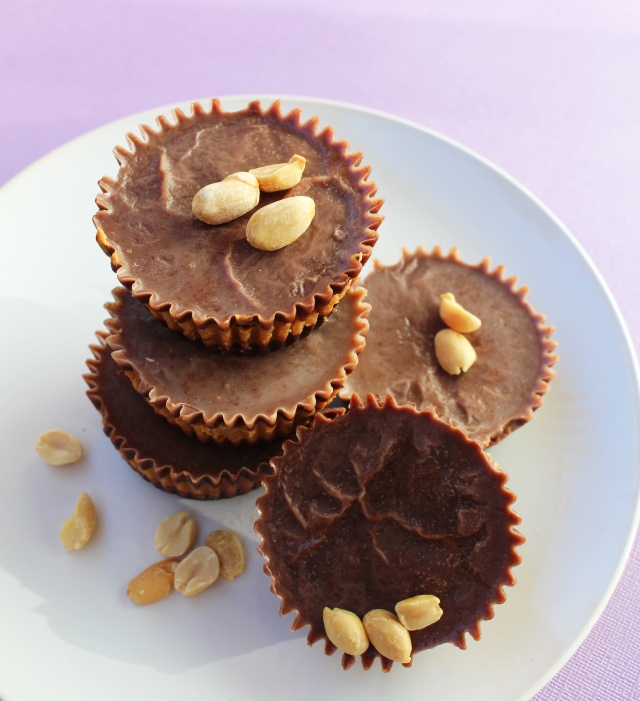
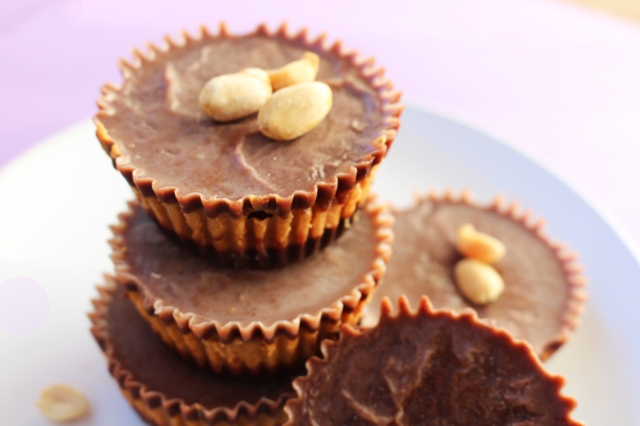
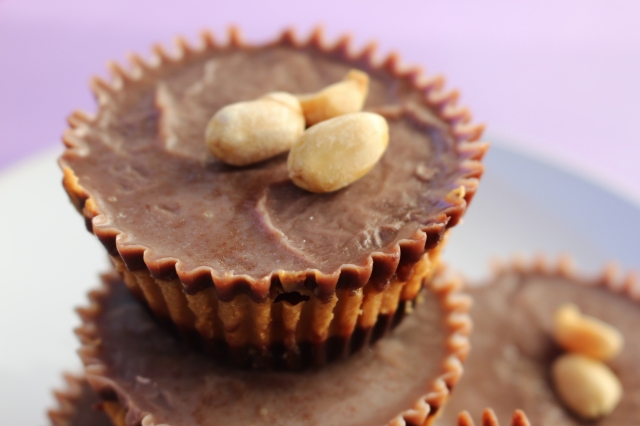
No-Bake Peanut Butter Cups

Post by Megan Stulberg

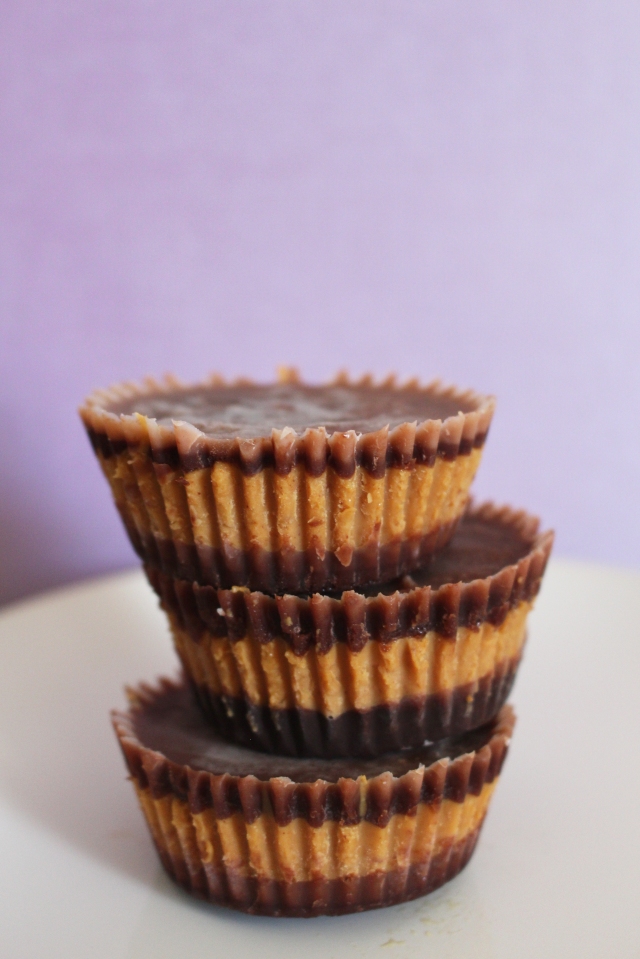
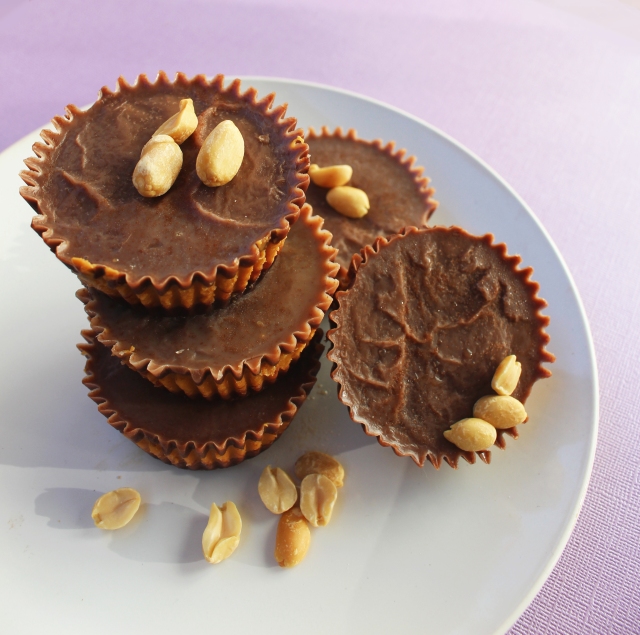
Peanut butter and chocolate has been my favourite taste combination for *literally* (read this in a Chris Traeger voice) as long as I can remember. Seriously! I always got my mum to buy them in bulk around Halloween so I could eat all the extra ones after trick-or-treaters came and went. Now that I’m a fully functioning adult member of society, however, I’ve come up with a healthier version out of necessity.

Get cho’ fix! These babies are gluten-free, vegan and no-bake. You can easily make them raw, too, by switching peanut butter to almond butter.
img_2814img_2817
INGREDIENTS:

  • 1 cup smooth peanut butter, melted or room temperature
  • 1/2 cup + 2 tbsp melted coconut oil
  • 1/2 cup raw cacao powder
  • 1/4 cup pure maple syrup or agave nectar
  • 1 tsp Himalayan salt

img_2833

DIRECTIONS:

  1. Line muffin tray with paper baking cups.
  2. Use a high-speed food processor or blender to combine 1/2 cup coconut oil, 1/4 cup pure maple syrup and 1/2 cup raw cacao powder together until a liquid consistency is reached. If you don’t have a food processor or a blender, use a microwave instead: stop to whisk together every 30 minutes to prevent burning, then keep melting.
  3. Spoon 1 heaping tbsp chocolate batter into bottom of muffin cups so they’re approximately 1/4 of the way full. You should have about half of the mixture left.
  4. Set muffin tray aside in freezer for time being.
  5. In medium mixing bowl, “whip” the peanut butter together with 2 tbsp coconut oil and a touch of salt until as smooth as possible. If you have to…you can pop this in the microwave as well. Shhhh.
  6. Once the chocolate layer is frozen solid (or at least firm), Place a dollop of peanut butter on top of each. It will spread out to the edges, flatten then put baking tray bake in freezer.
  7. Wait for peanut butter layer to set. This should take about 30 minutes.
  8. Pour all remaining liquid chocolate on top of the peanut butter layer to finish off the cups.
  9. Let set in freezer overnight to set.Makes approximately 6 servings. Serve directly from freezer – they should be chilled when serving as they melt easily and you can still bite into them when they’re cold.
    Enjoy!
img_2857img_2879img_2882img_2883img_2884img_2885

Raw Chocolate Avocado Mousse Tarts 

Post by Megan Stulberg, Alexandra Courts and Aine Davis

We’re back! With another video, you lucky dogs you.

Remember when we made that pad Thai? And those mimosas? Well we made raw chocolate avocado mousse tarts afterwards, and filmed that too. These are the perfect “something sweet” to enjoy after an afternoon of food and fun with your best gal (or guy, or non-binary) pals.

These tarts are raw, gluten-free, vegan, soy-free and artificial sugar-free. They’re SO easy to make too! All you need is some handy ingredients, a blender, a muffin tray and a freezer. Being fuelled by mimosas is also beneficial, but not a requirement.

Watch the video, then follow our recipe! Enjoy.

 
 INGREDIENTS:

For the Tart Bases…

  • 2 cups pitted dates
  • 1/4 cup raw almonds
  • 1/4 shredded unsweetened coconut
  • 1/4 cup raw cacao powder
  • Pinch of pink Himalayan salt

For the Mousse…

  • Flesh (lol gross) of 2 ripe avocados
  • 1/2 cup raw cacao powder
  • 1/4 cup 100% maple syrup or blue agave
  • 2 tbsp coconut oil
  • 1 tsp pure vanilla extract
  • Pinch of pink Himalayan salt

DIRECTIONS:

  1. Line a muffin/cupcake tray with plastic wrap or strips of wax paper, as shown in the video.
  2. Blend the dates, raw almonds, shredded coconut, raw cacao powder, and pink Himalayan salt until mixture is fine in texture and thoroughly combined.
  3. Press the tart mixture into the base of each muffin base. 1/4 inch of the way full is ideal. Set aside tray with tart bases in freezer for time being.
  4. Blend all ingredients for the mousse together until smooth and creamy in consistency.
  5. Spoon the filling overtop of each tart base until each muffin cup is full. Pat down mousse with back of spoon for a flat look.
  6. Allow the tarts to freeze for 1-2 hours before serving.
  7. Garnish with your toppings of your choice. We chose frozen raspberries and raw pecans.

Serve chilled. Makes approximately 8-10 servings.

Mini apple pies (raw)

Post by Megan Stulberg

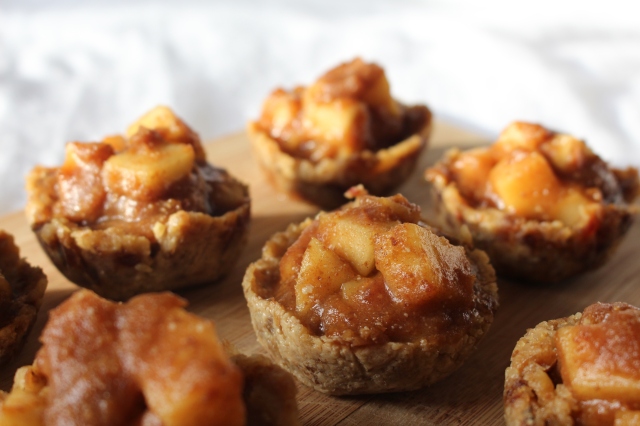
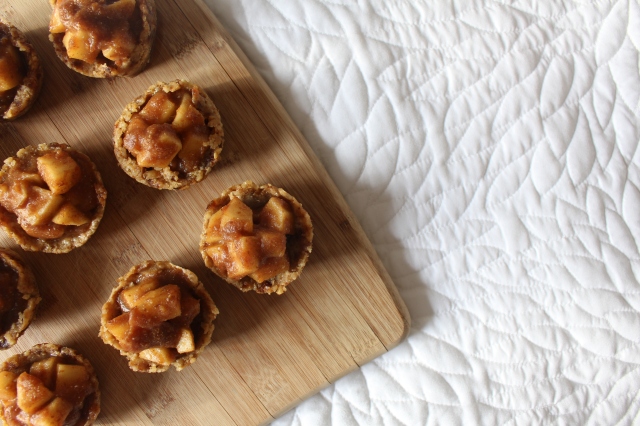
This were so good. Like, TOO good. Is there such thing? Well if there is, these are exactly that! I made these little food dudes a while back. I prefer making bite-size versions of desserts because I honestly tend to just make a huge mess whenever I attempt to slice into a large cake or whatever, but you could totally modify this easily by using a pie pan instead!

IMG_8234IMG_8213

Ingredients…

  • 3 medium apples, peeled + chopped into small chunks
  • 2 cups pitted dates, soaked overnight
  • 1 cup raw almonds (walnuts work)
  • 1 cup water
  • Pinch cinnamon
  • Pinch nutmeg
  • Pinch sea salt

Directions…

  1. Line a muffin tray with plastic wrap or long, thin strips of wax paper (the latter is easier).
  2. Use a high-speed blender or food processor to combine almonds with 1 cup pitted dates. Press mixture firmly into each muffin cup to form base/crust. Pat down with fork if needed. Set aside in freezer for at least 30 minutes.
  3. While crusts are setting, prep the apple pie filling! Combine remaining dates with water, cinnamon, nutmeg and sea salt in blender into a sauce that’s gooey and semi-liquid in consistency (think caramel). Peel the apples and cut into small, bite-size chunks. Mix everything together in bowl (or if your blender has a removable blade, combine in there and save yourself from doing extra dishes) until the apple chunks are thoroughly coated in the sauce.
  4. Remove muffin tray from freezer. Pop crusts out of each cup and place on large cutting board or plate. Spoon filling into each cup so that it’s full well over the top of the crust, but the sauce isn’t overflowing over the side.
  5. Place back to freezer at least 1 hour to set. When ready to eat, partially thaw and serve immediately. Enjoy cold! You could even top with a dollop of coconut whipped cream.

Makes approximately 9 individual treats.

IMG_8214IMG_8205

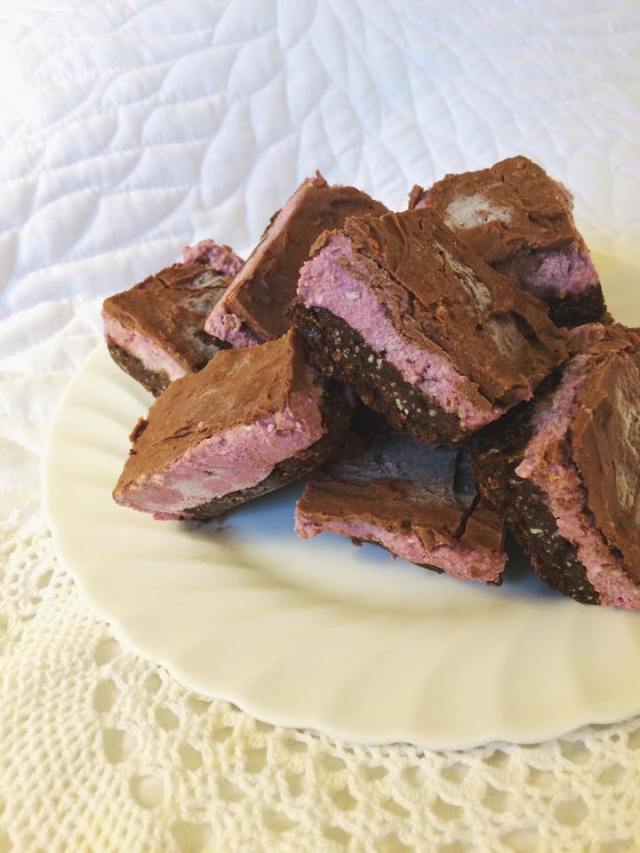
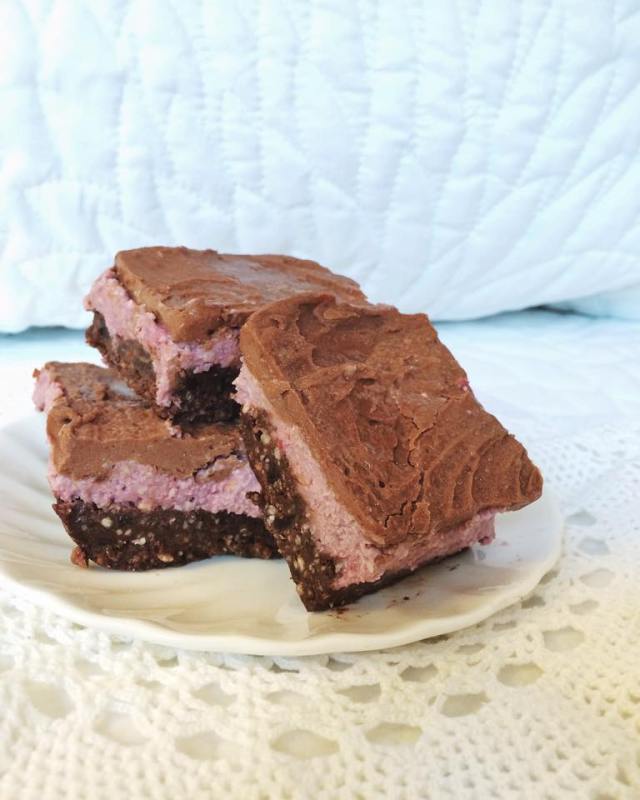
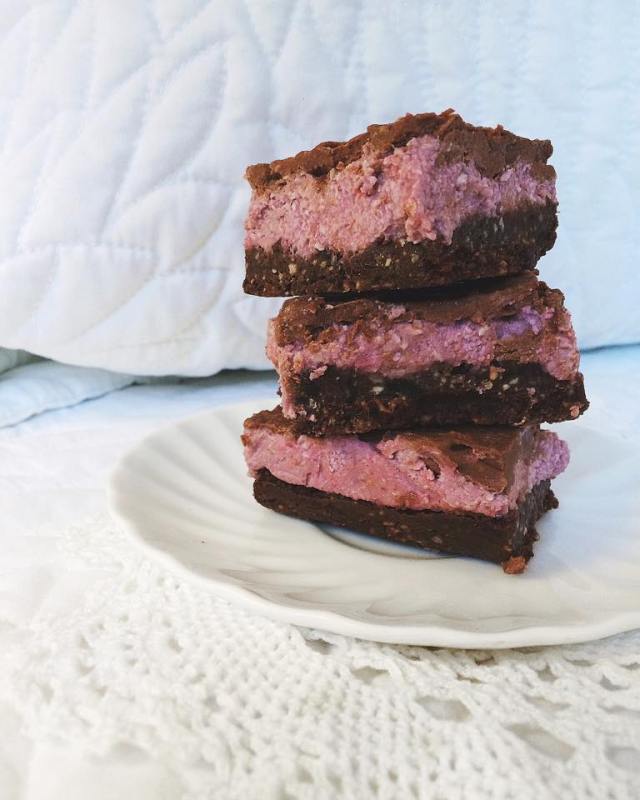
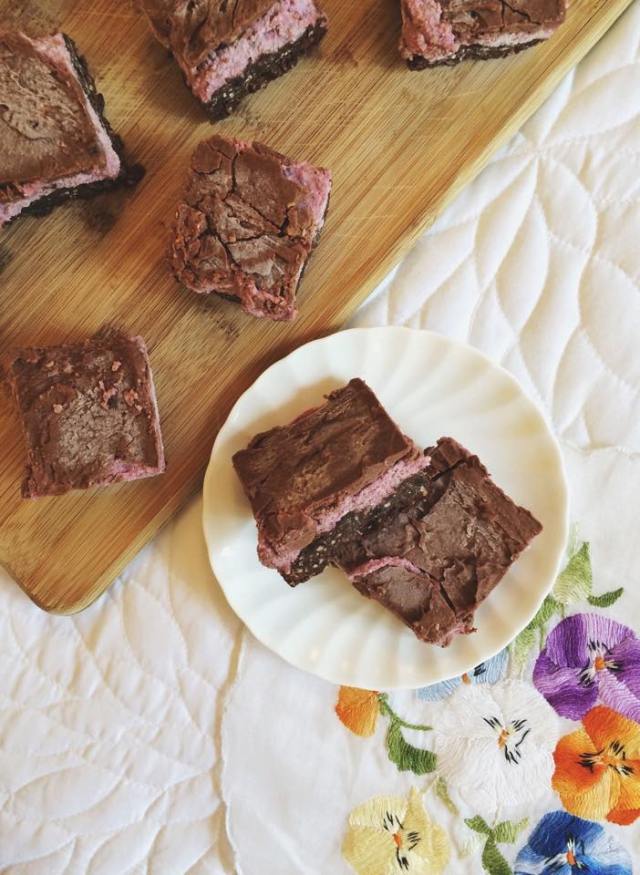
Raspberry Nanaimo Bars (Raw)

Post by Megan Stulberg

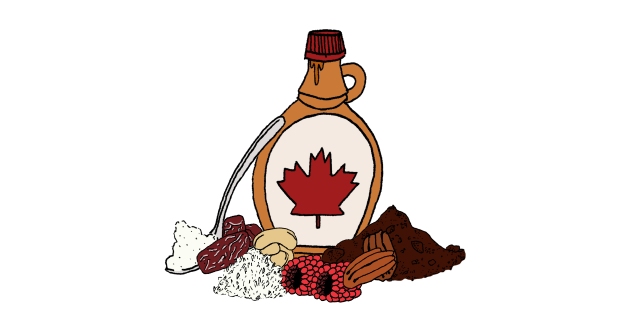
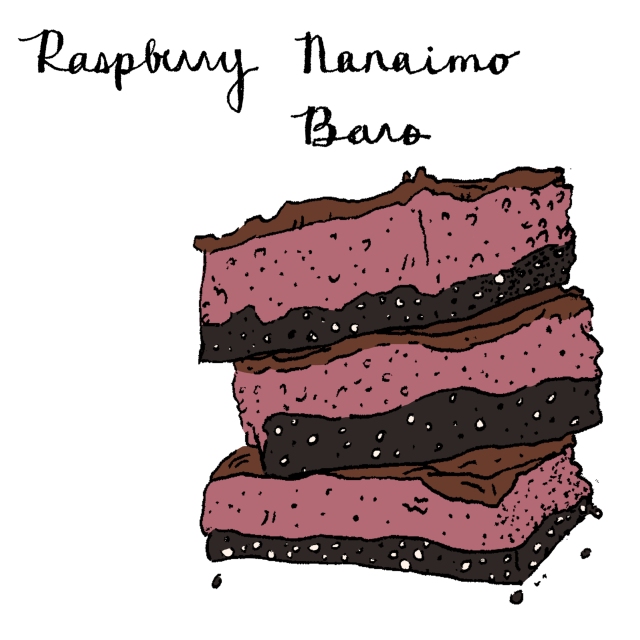
I am thankful to have photographic documentation of the peppermint nanaimo bars I made last spring, because otherwise my brain would be working in overdrive trying to create an accurate visual memory. Seriously, I think about them at least once a week. So six months later, I finally caved and made another batch! I don’t know which flavour combination is *technically* better, but this recipe is accompanied by some illustrations by my internet friend Amanda Spinosa, so it wins by default. Check out her work, she is one fabulous human being.

nanaimo raspberry nanaimo

12077262_10156095125650133_2039596295_n 12077499_10156095125680133_85946389_n

INGREDIENTS…..

For the bottom layer:

  • 1 cup raw pecans
  • 1/2 cup medjool dates, pitted
  • 1/4 cup raw cacao powder
  • 1/4 cup coconut oil, melted
  • 1/4 cup unsweetened shredded coconut

For the filling:

  • 2 cups fresh raspberries (don’t use frozen)
  • 3/4 cup raw cashews
  • 1/4 cup organic maple syrup or blue agave
  • 1 tbsp coconut oil, melted

For the top layer:

  • 1/2 cup coconut oil, melted
  • 1/4 cup raw cacao powder
  • 1/4 cup organic maple syrup or blue agave

DIRECTIONS….

Directions:

  1. In food processor pulse dates, pecans, shredded coconut, coconut oil and cacao powder until a crumb-like consistency has been reached.
  2. Line a square baking pan with plastic wrap tightly that covers the bottom, sides and over the edges. Pour crust mixture into pan. Press down with a fork to pack an even layer. Let set in freezer for 20 minutes.
  3. Blend together cashews, coconut oil, maple syrup and fresh raspberries until creamy. Pour on top of crust and spread out evenly. Put back in freezer for 20 minutes.
  4. Blend together cacao, coconut oil and sweetener until liquid in consistency. Pour on top of raspberry cream layer evenly.
  5. Place pan in freezer for 30 minutes to semi-set. Hold onto plastic wrap and pulling upwards to pop bars out.
  6. Using a large knife, slice into 8-10 rectangular pieces. Place bars on a plate and keep in freezer for at least 3 more hours to set.

Let thaw at least 1 hour before serving.

12081554_10156095125695133_2056439763_n 12086956_10156095125660133_31178803_n

THANKSGIVING FEAST ON LOCK: 6-PART RECIPE POST

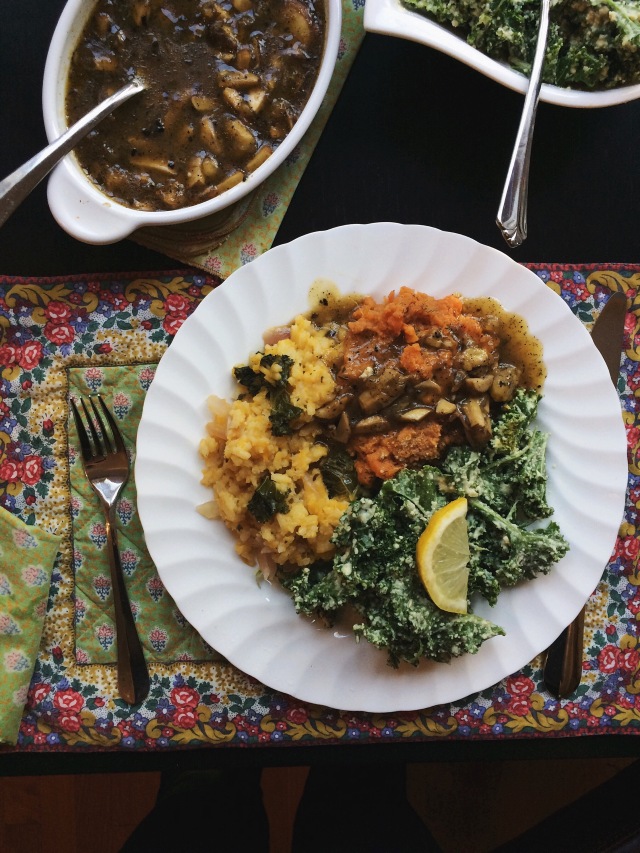
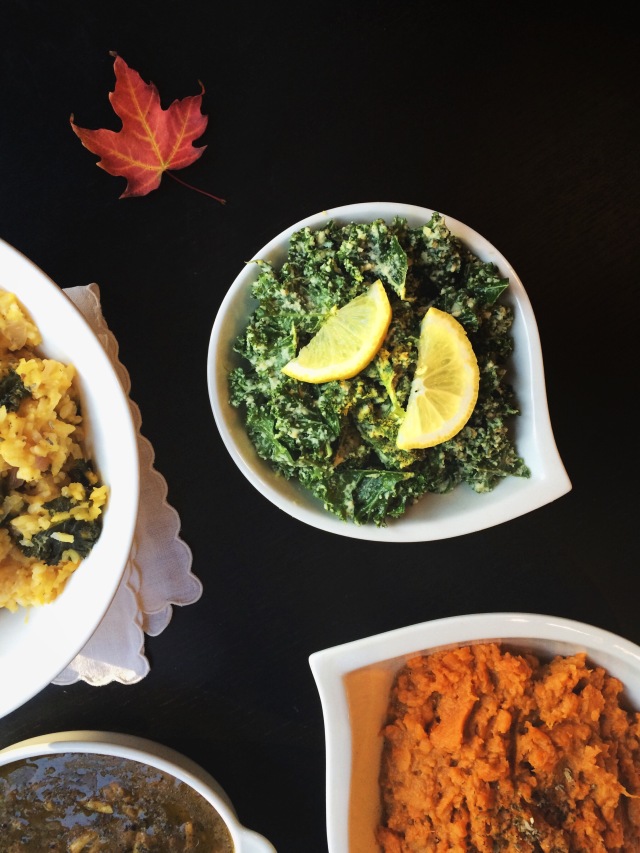
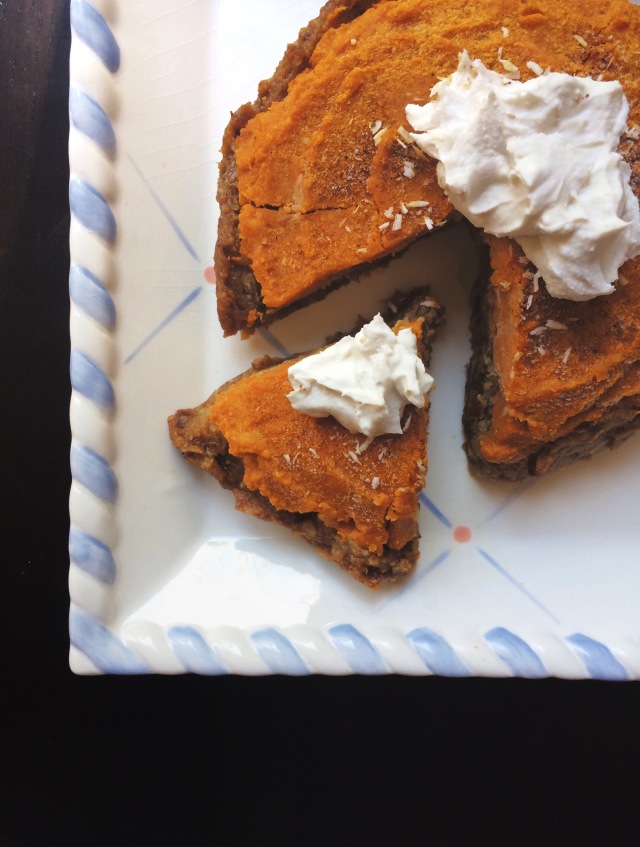
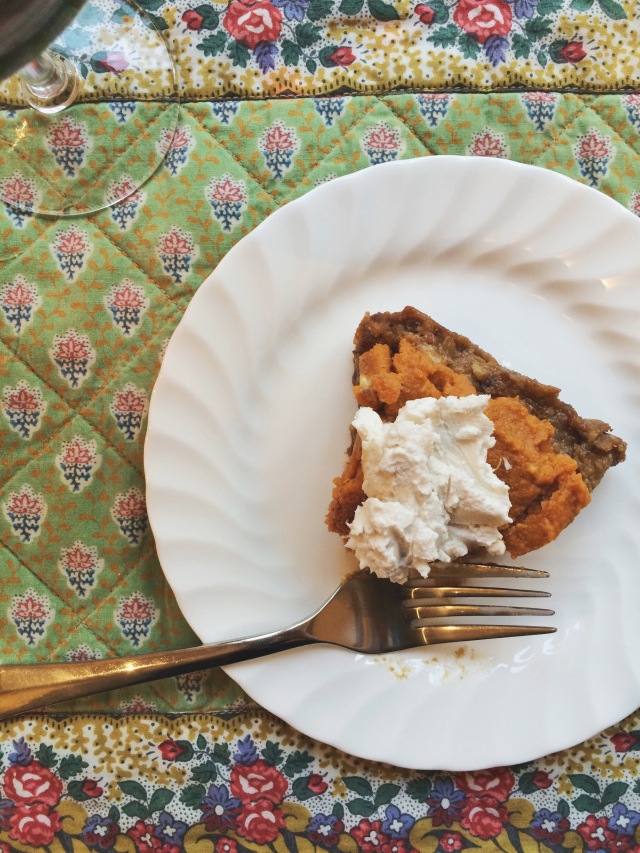
Alright, so I went a little wild this Thanksgiving. Hell, I go a little wild every Thanksgiving. I made butternut squash risotto, mushroom gravy, maple sweet potato mash, kale caesar salad and (*drumroll please*) raw pumpkin pie topped with coconut whipped cream. Please note that all the food below was: a) made for 2 people and b) consumed within 24 hours. I will be signing autographs all week, thanks.

Two of these recipes have already been posted on Vegan Girlfriend! For the maple sweet potato mash, view the original post here. For the kale caesar, add fresh lemon to the original post here.

IMG_8866

BUTTERNUT SQUASH RISOTTO

INGREDIENTS…

  • 4 cloves garlic, minced
  • 1 red onion, chopped coarsely
  • 3 cups gluten-free vegetable stock
  • 2 cups butternut squash, cubed
  • 1 cup arborio rice
  • 1 cup chopped kale leaves
  • 1/2 cup white wine
  • 1/2 cup vegan butter
  • 1/4 cup almond or soy milk
  • 2 tbsp nutritional yeast
  • 2 tbsp cold-pressed EVOO
  • 2 tbsp ground sage
  • 1 tbsp onion powder
  • Sea salt and black pepper, to taste

DIRECTIONS…

  1. Preheat oven to 400F.
  2. Cook arborio rice re: instructions on packaging. Risotto is unique because you have to cook rice in a saucepan, not a pot. Slowly add white wine and 2 cups vegetable stock while cooking. Be sure to stir regularly, as arborio rice sticks and burns easily! Drain and set aside.
  3. Place cubed squash in pot of boiling water on medium-high heat. Cover, then let cook until squash is tender with fork (approximately 10-15 minutes). Drain, then set aside.
  4. Blend squash, 1 cup vegetable stock, “butter,” almond milk, nutritional yeast, salt and pepper into a puree.
  5. In a large saucepan, saute garlic and onion in EVOO until browned. Add rice and kale and cook on low heat for 5 minutes. Add squash puree and turn up to medium heat. Cook 5 minutes while stirring regularly. Once rice has absorbed, remove from heat.
  6. Transfer everything to casserole dish and bake in oven for 15-20 minutes until top layer firms up.
  7. Let cool 20 minutes before serving.

Makes 4 heaping servings.

IMG_8883

IMPROVED MUSHROOM GRAVY: 

INGREDIENTS…

  • 2 cups gluten-free vegetable stock
  • 1 cup chopped cremini mushrooms
  • 1/4 cup gluten-free brown rice flour
  • 1/4 cup almond or soy milk
  • 2 cloves garlic
  • 1/4 red onion, coarsely chopped
  • 2 tbsp ground sage
  • 2 tbsp vegan butter-style spread
  • Sea salt and black pepper, to taste

DIRECTIONS…

  1.  Heat EVOO in large skillet over medium-high heat. Add onion and saute for 3 minutes until browned. Add sage, garlic, mushrooms, almond milk, salt and pepper. Cook until mushrooms are browned, stirring regularly. Add vegetable stock and vegan butter-style spread, lower heat to simmer. Once most liquid has evaporated, add vegetable stock and brown rice flour. Stir occasionally and cook for an additional few minutes. For thicker gravy, feel free to add additional flour by the tbsp.
  2. Remove from heat. Top with additional sage. Serve hot!

Makes approximately 2 cups of gravy (4 servings).

IMG_8911

IMG_8910

RAW PUMPKIN PIE WITH COCONUT WHIP:

INGREDIENTS…

FOR THE CRUST:

  • 1 cup raw walnuts
  • 1 cup pitted dates
  • 2 tbsp unsweetened shredded coconut
  • Pinch of raw pink mountain salt

FOR THE FILLING:

  • 1/2 large can pure pumpkin puree (not technically raw, but cut me some slack)
  • 1/4 cup coconut oil
  • 1/4 cup 100% maple syrup
  • 1 tbsp nutmeg
  • 1 tbsp cinnamon
  • 1 tsp ginger

FOR THE WHIP:  

  • 1 standard can full-fat coconut milk, left in fridge overnight
  • 2 tbsp 100% maple syrup
  • 1 tbsp organic vanilla extra

DIRECTIONS…

  1. To make crust: pulse walnuts, shredded coconut and dates in food processor until crumb-like consistency has been reached. Line a small 5-inch round pan with plastic wrap or parchment paper. Press mixture into bottom of dish firmly to form an even crust.
  2. To make filling: blend all ingredients until smooth. Spread onto crust and let set in freezer overnight until set. Additionally, leave can of coconut milk in fridge overnight to set.
  3. Next day: Leave in refrigerator for 2 hours to thaw, or room temperature for 1 hour.
  4. Make coconut whip while pie is thawing. Carefully open coconut milk without tilting or shaking the can. Scoop out all the cream from the top, leaving the coconut water that has separated at the bottom of the can.
  5. With an electric mixer, beat cream together with maple syrup and vanilla extract until sharp peaks form. Be careful not to over-whip.
  6. Serve pumpkin pie sliced with dollops of coconut whip on top. Leftovers can be kept in fridge.

Makes 1 small pie (4 servings).

IMG_8906

Raw Pumpkin Cheesecake Blondies 

Recipe by Alexandra Courts 

It’s about time that we posted sometime pumpkin-related! Ditch your Starbucks PSL (wow, what a pity) and make these sweet treats instead.

   INGREDIENTS:

For the blondie base….

  • 1 1/2 cups raw macadamia nuts, soaked overnight
  • 2 1/2 cups dates, soaked if desired
  • 1 cup shredded unsweetened coconut
  • 2 tbsp ground flaxseed

For the pumpkin cheesecake filling…

  • 1 can pumpkin puree
  • 1 can full fat coconut milk (including coconut oil at the bottom of the can)
  • 2 cups raw cashews, soaked overnight
  • 3/4 cup raw agave nectar
  • 2 tbsp cinnamon
  • 1 tbsp nutmeg
  • 1 tsp ginger

Directions…

  1. Blend macadamia nuts, dates, coconut and flax until thoroughly ground and incorporated. Press mixture into the base of an eight-inch square cake pan lined with wide strips of parchment paper. Ensure that base is flat to form an even crust.
  2. Blend cheesecake filling ingredients until smooth and creamy in consistency. Add more agave if necessary to further smooth.
  3. Pour cheesecake filling onto base and allow blondies to freeze for 1-2 hours or overnight if possible. If freezing overnight, allow blondies to thaw at room temperature for about 20-30 minutes before slicing.
  4. Garnish with toppings of choice. Pictured is a dash of cinnamon and shredded unsweetened coconut.

Enjoy! Makes approximately 12 blondies.

Raw lemon cheesecake with fresh berry topping 

Post by Megan Stulberg

I’m vegan because I love animals! I believe that they are not ours for consumption, nor should they be viewed as a commodity. I can’t say I’ve thrown too many dog birthday parties, but for this special pup I jumped at the chance to make a cake he and I could both enjoy. We ate too much and spoiled our lunches.


INGREDIENTS:

For the base…

  • 1 cup raw walnuts
  • 1 cup medjool dates, pitted
  • 1 tsp pink mountain salt

For the frosting…

  • 2 cups raw cashews, soaked 1 hour
  • 1/4 cup organic maple syrup
  • 1/4 cup coconut oil, melted
  • 1 tbsp organic vanilla extract
  • Juice of 1 lemon
  • Dash of cold water, as needed

For the topping…

  • 1-2 cups fresh fruit topping of your choice! I used organic strawberries and blueberries.

DIRECTIONS:

  1. Line the base and sides of a round cake or pie pan with plastic wrap.
  2. In a high-speed food processor or blender combine walnuts, dates and salt.
  3. Press mixture firmly down into bottom of pan with fork to form even crust.
  4. Set pan aside in freezer for now and allow for crust to set.
  5. Drain cashews.
  6. Blend together cashews, maple syrup, coconut oil, vanilla, lemon juice and cold water.
  7. Remove pan from freezer. Spoon frosting into pan and spread over crust in an even layer.
  8. Place pan back in freezer and leave overnight.
  9. Remove pan in morning. Lift edges of plastic wrap up to pop cake out of pan. Carefully plate and let thaw in refrigerator at least 1 hour.
  10. Add fresh fruit immediately before serving. Slice. Enjoy!

Makes approximately 6-8 servings.

Raw Chocolate Salted Caramel Tarts

Post by Alexandra Courts

Got some unused mason jars kicking around your kitchen? Of course you do! Everybody does! Pop the lids off and follow this recipe to achieve greatness.


INGREDIENTS:

  • 2 cups dates, soaked
  • 2 cups raw cashews, soaked
  • 1 cup raw walnut pieces
  • 1 cup light coconut milk (canned)
  • 3/4 cup raw cacao powder
  • 3/4 cup raw blue agave
  • 1/4 cup unsweetened shredded coconut
  • 1/4 cup coconut oil
  • Sea salt, to taste

DIRECTIONS:

FOR THE SALTED CARAMEL BASE…

  1. Blend together 1/2 cup raw cacao powder, dates, walnuts and shredded coconut together until combined.
  2. Press mixture into base and sides of each mason jar lid, keeping middles low to be filled momentarily. Set aside.

FOR THE NEXT LAYER…

  1. Blend cashews, 1/2 cup agave and coconut milk together until a smooth and creamy consistency is reached.
  2. Spoon filling into the centres of each mason jar lid. Set tarts in freezer while you prepare the next layer! So many layers.

FOR THE RAW CHOCOLATE TOPPING…

  1. Whisk together melted coconut oil, 1/4 cup agave and 1/4 cup raw cacao powder. Cool in fridge for 1 hour, then spoon a dollop onto each tart. Finish with a pinch of salt
  2. Let tarts set in freezer overnight, then thaw at room temperature 1 hour before serving.

Serve chilled. Enjoy! Makes approximately 12 servings.

Raw Frosted Chocolate Brownies 

By contributor Alexandra Courts

If you crave chocolate as much as I do (probably impossible, but let’s go with it) then it’s always a good idea to have something sweet on hand. Make a batch of these and tuck a few into the freezer in case of emergency!
  

INGREDIENTS:

For the brownie…

  • 2.5-3 cups pitted dates
  • 1 cup raw almonds
  • 1/4 cup raw cacao powder
  • 1/4 cup hemp seeds
  • 2 tbsp flax meal

For the frosting…

  • 1 cup pitted dates
  • 1/4 raw cacao powder
  • 1/4 cup maple syrup
  • Water, as needed

DIRECTIONS:

  1. In a high-speed blender or food processor chop dates, almonds, cacao, flax meal, and hemp seeds until thoroughly combined.
  2. Press mixture into an 8-inch square cake pan lined with plastic wrap.
  3. Set in freezer for about 30 minutes.
  4. Separately process dates, cacao, syrup and water until smooth and spreadable.
  5. Remove cake pan from freezer. Slice, then slather icing on top of each brownie.
  6. Finish up these beauties with any toppings you like! I paired mine with shredded coconut and fresh raspberries.
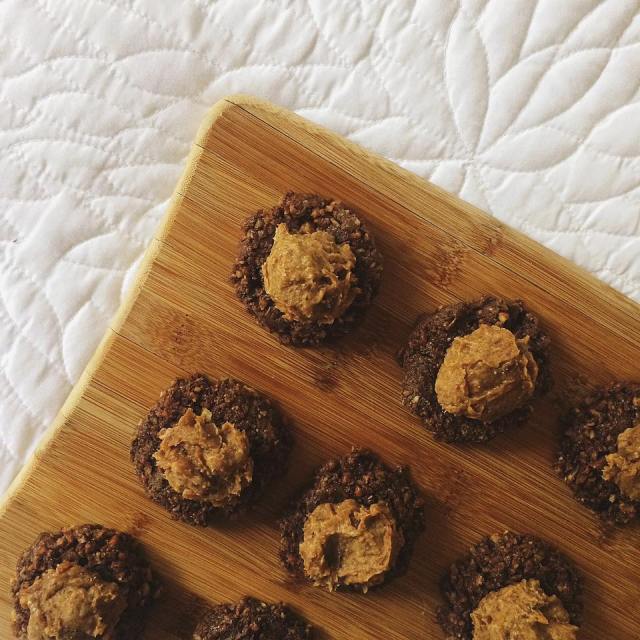
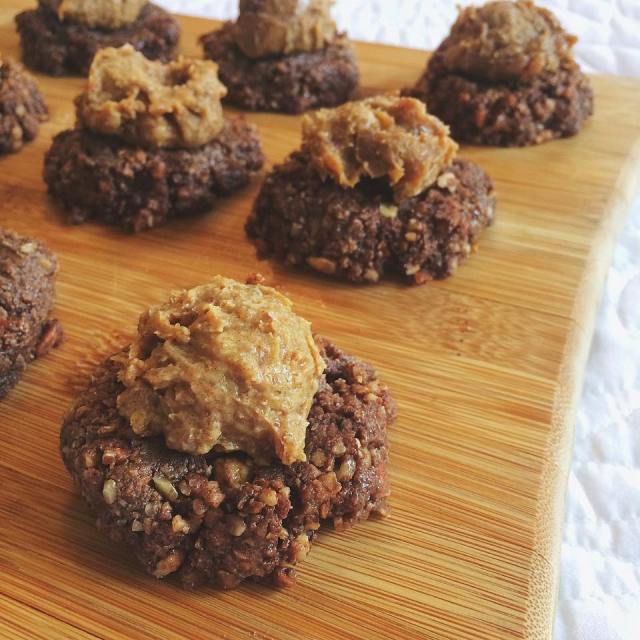
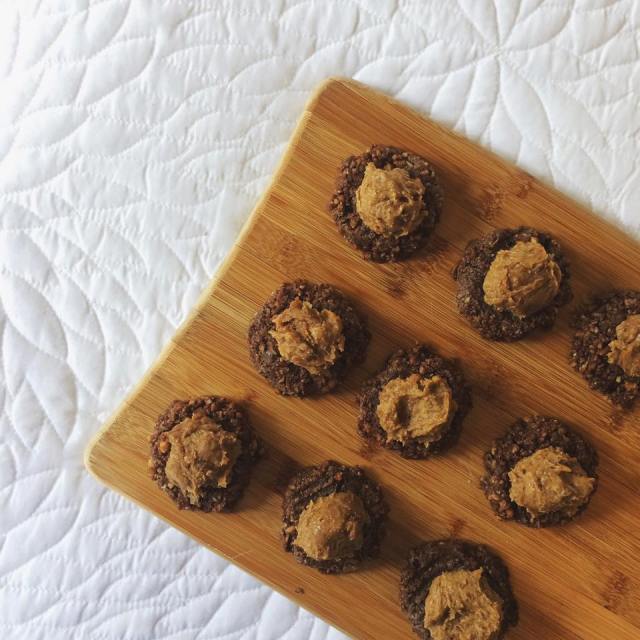
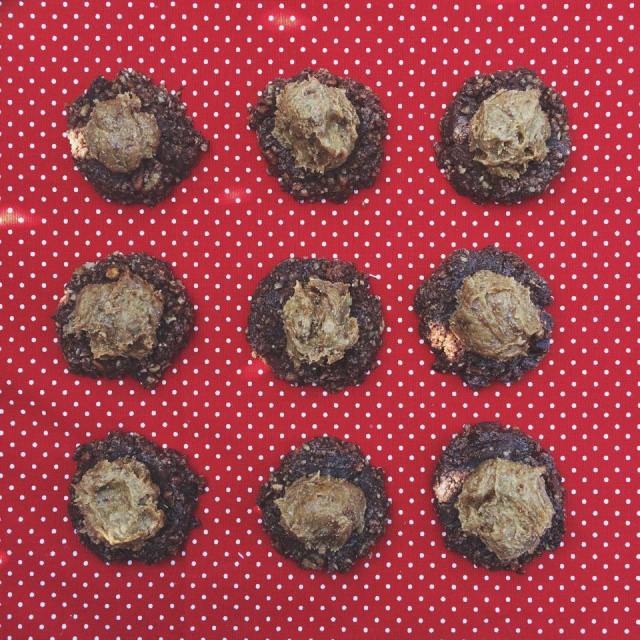
Raw salted dark chocolate thumbprint cookies with butterscotch icing

Post by Megan Stulberg 

I’m not sure why I’ve been craving salt so much lately. I mean, I’ve looked into it. I’m either dehydrated, have low-functioning adrenal glands or am just extremely hormonal most of the time. It’s probably the latter and I’m going with it.

10859529_10155969002640133_1526361972_n 10859548_10155969002650133_1976710434_n

INGREDIENTS:

For the cookies…

  • 1 cup raw walnuts
  • 1 cup raw pecans
  • 1/4 cup cacao powder
  • 1/4 unsweetened shredded coconut
  • 2 tbsp maple syrup
  • 2 tbsp coconut oil
  • 1 tsp organic vanilla extract
  • 1 tsp pink crystal salt

For the icing…

  • 1 cup dates
  • 1/4 cup organic coconut oil
  • 2 tbsp water
  • 1 tbsp maple syrup
  • Pinch of pink crystal salt

DIRECTIONS:

  1. Drain walnuts and pecans.
  2. In high-speed blender or food processor, combine walnuts, pecans, cacao, coconut, maple syrup, oil, vanilla and salt until thick mixture begins to form.
  3. Line baking sheet with plastic wrap. Roll “dough” into small balls and place on baking sheet. Flatten tops slightly with fork.
  4. Set baking sheet aside in freezer for now.
  5. Blend dates, coconut oil, water and salt together until creamy in consistency. Be careful not to over blend! Place in bowl and leave in fridge for 1 hour.
  6. Once icing has set, place a dollop on the centre of each cookie. Top each with an extra sprinkle of salt, if desired.
  7. Leave in freezer overnight. Remove from freezer half hour before eating.

Serve chilled. Makes 10 cookies.

11920480_10155969002645133_1939293827_n 11940144_10155969002660133_2063501877_n