Guest post by Amily Blanch
Valentine’s Day seems like it was just yesterday. The streets were flooded with energized romantics, toy hearts and chocolates of all shapes and sizes. At this time of the year, especially, we are all craving to surprise our loved ones with a delicious dinner. Who says you can’t do a belated version in March?
In the vegan community it is quite difficult to find recipes that would truly make even a non-vegan fall in love, so I wanted to share a few tricks I have up my sleeve, as well as tell you how to prepare a healthy, heavenly starter.

The dish itself is called Aubergine Ricotta Rolls and its overall making will take around 30 minutes and serve 4 people. This means, it’s perfect for a double date with your best friend and their significant other as well.
INGREDIENTS…
What you will need for the vegan ricotta cheese:
- 7oz firm tofu
- 1 1/2 cups of raw cashews, that previously had been soaked in water overnight
- 1/4 cup of soy (or any other non-dairy) milk
- Juice of one third of a lemon (around 2/3 tablespoons)
- Some salt and ground black pepper
What you will need for the rolls:
- 2 aubergines (also known as eggplants)
- 1 tablespoon extra virgin olive oil
DIRECTIONS…
- Start by making the ricotta cheese. Firstly place the (drained) cashews into a food processor along with the tofu. It is important to soak the nuts in water overnight because that helps break down the phytic acid, water stops the acid from being absorbed into our bodies, and therefore reducing a feeling of heaviness after the meal. Soaking nuts also neutralizes their enzymes, allowing proper digestion to take place.
- Add half of the non-dairy milk that you have prepared, blend, and then the second half.
- After it turns into a smooth paste, add the rest of the ingredients: lemon juice, salt and pepper (for which the proportions may vary depending on how flavorful you want the “cheese” to be).
- Once that is done, you can start preparing the aubergines by cutting them lengthwise into very thin, wide pieces.
- While the pan is heating add 1-2 tablespoons of extra virgin olive oil. For extra flavour and a more intricate taste, chop up one small clove of garlic and let it sit in the olive oil for some time, this will infuse it with slight pungency. It is up to you whether you want to keep the small pieces of garlic in the oil or remove them before adding the oil to the pan. Remember to not add TOO much oil, or else the aubergines will not be cooked properly and that will affect the taste.
- After the oil is hot, place the aubergines on the pan and wait for the pieces to turn a beautiful shade of brown, and then flip.
- Afterwards, place the aubergines on a cutting board and start spreading a thin layer of ricotta on each of them. Roll them up, however if you find that they do not stay in a roll, you can use a toothpick to stabilize them. (Make sure to take them out before serving the dish though.
- Different ingredients can be sprinkled on top of the ricotta in the process like some chopped chives or a drizzle of lemon zest, if you want to put your own personal spin of this dish.
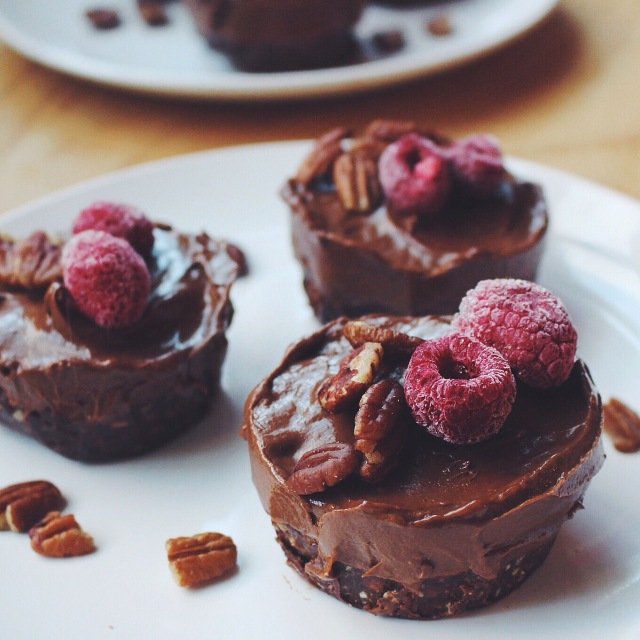
After the preparation and decoration of this beautiful starter, you can make the main dish. There are millions of recipes that involve servings like vegan ratatouille pasta or quinoa dishes that would blow your significant others’ minds. To finish off the lovely evening, share an appetizing raw cake made out of bananas, cocoa powder, walnuts, dates and agave syrup.
Anyone, no matter vegan or not, will be ecstatic after tasting this aubergine dish, so make sure you try it as well! The best thing about a complete, vegan Valentine’s dinner is that it contains all the vitamins and proteins that we need to be our best selves and feel good in our bodies, as well as, leaves us feeling energized, satisfied and not bloated at all.
Nuts provide protein and the vegetables are overflowing with vitamins like A, D and C, so instead of feeling guilty after having a chocolate cake for dessert, you will be focused on your date and celebrating love.
About Amily Blanch: A longtime vegan, red wine advocate, and health ambassador. Member of a team of freelance writers from New York publishing recipes for the Secrets of Vegan Baking blog and product reviews for the Consumerion site.
—
Interested in submitting a guest recipe post for our blog? Hit us up at vegangirlfriend@gmail.com, and we can chat.


