No-Bake Peanut Butter Cups

Post by Megan Stulberg

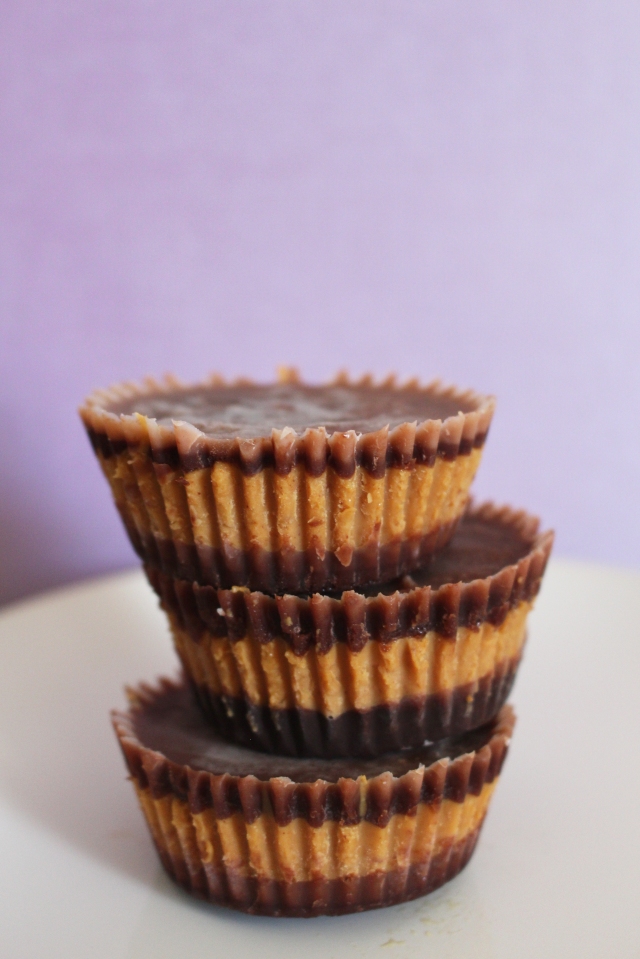
Peanut butter and chocolate has been my favourite taste combination for *literally* (read this in a Chris Traeger voice) as long as I can remember. Seriously! I always got my mum to buy them in bulk around Halloween so I could eat all the extra ones after trick-or-treaters came and went. Now that I’m a fully functioning adult member of society, however, I’ve come up with a healthier version out of necessity.

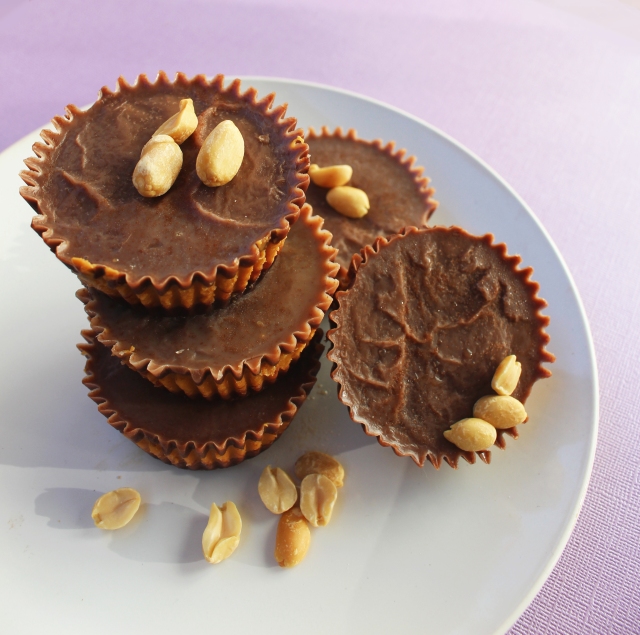
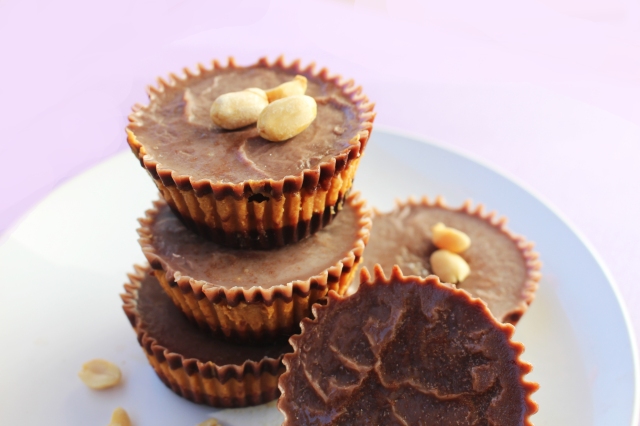
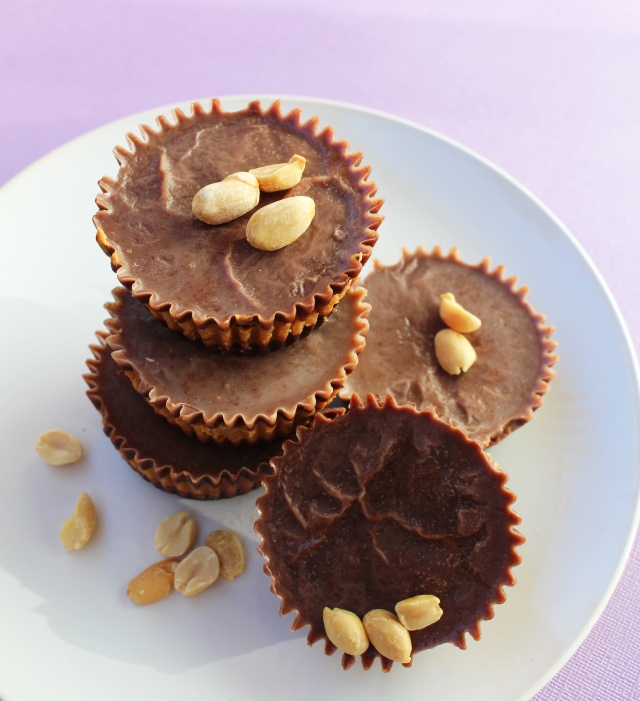
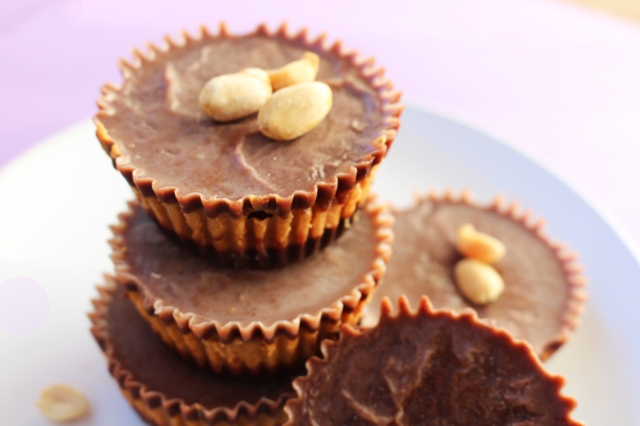
Get cho’ fix! These babies are gluten-free, vegan and no-bake. You can easily make them raw, too, by switching peanut butter to almond butter.

img_2814img_2817
INGREDIENTS:

  • 1 cup smooth peanut butter, melted or room temperature
  • 1/2 cup + 2 tbsp melted coconut oil
  • 1/2 cup raw cacao powder
  • 1/4 cup pure maple syrup or agave nectar
  • 1 tsp Himalayan salt

img_2833

DIRECTIONS:

  1. Line muffin tray with paper baking cups.
  2. Use a high-speed food processor or blender to combine 1/2 cup coconut oil, 1/4 cup pure maple syrup and 1/2 cup raw cacao powder together until a liquid consistency is reached. If you don’t have a food processor or a blender, use a microwave instead: stop to whisk together every 30 minutes to prevent burning, then keep melting.
  3. Spoon 1 heaping tbsp chocolate batter into bottom of muffin cups so they’re approximately 1/4 of the way full. You should have about half of the mixture left.
  4. Set muffin tray aside in freezer for time being.
  5. In medium mixing bowl, “whip” the peanut butter together with 2 tbsp coconut oil and a touch of salt until as smooth as possible. If you have to…you can pop this in the microwave as well. Shhhh.
  6. Once the chocolate layer is frozen solid (or at least firm), Place a dollop of peanut butter on top of each. It will spread out to the edges, flatten then put baking tray bake in freezer.
  7. Wait for peanut butter layer to set. This should take about 30 minutes.
  8. Pour all remaining liquid chocolate on top of the peanut butter layer to finish off the cups.
  9. Let set in freezer overnight to set.Makes approximately 6 servings. Serve directly from freezer – they should be chilled when serving as they melt easily and you can still bite into them when they’re cold.
    Enjoy!

img_2857img_2879img_2882img_2883img_2884img_2885

Raspberry Nanaimo Bars (Raw)

Post by Megan Stulberg

I am thankful to have photographic documentation of the peppermint nanaimo bars I made last spring, because otherwise my brain would be working in overdrive trying to create an accurate visual memory. Seriously, I think about them at least once a week. So six months later, I finally caved and made another batch! I don’t know which flavour combination is *technically* better, but this recipe is accompanied by some illustrations by my internet friend Amanda Spinosa, so it wins by default. Check out her work, she is one fabulous human being.

nanaimo raspberry nanaimo

12077262_10156095125650133_2039596295_n 12077499_10156095125680133_85946389_n

INGREDIENTS…..

For the bottom layer:

  • 1 cup raw pecans
  • 1/2 cup medjool dates, pitted
  • 1/4 cup raw cacao powder
  • 1/4 cup coconut oil, melted
  • 1/4 cup unsweetened shredded coconut

For the filling:

  • 2 cups fresh raspberries (don’t use frozen)
  • 3/4 cup raw cashews
  • 1/4 cup organic maple syrup or blue agave
  • 1 tbsp coconut oil, melted

For the top layer:

  • 1/2 cup coconut oil, melted
  • 1/4 cup raw cacao powder
  • 1/4 cup organic maple syrup or blue agave

DIRECTIONS….

Directions:

  1. In food processor pulse dates, pecans, shredded coconut, coconut oil and cacao powder until a crumb-like consistency has been reached.
  2. Line a square baking pan with plastic wrap tightly that covers the bottom, sides and over the edges. Pour crust mixture into pan. Press down with a fork to pack an even layer. Let set in freezer for 20 minutes.
  3. Blend together cashews, coconut oil, maple syrup and fresh raspberries until creamy. Pour on top of crust and spread out evenly. Put back in freezer for 20 minutes.
  4. Blend together cacao, coconut oil and sweetener until liquid in consistency. Pour on top of raspberry cream layer evenly.
  5. Place pan in freezer for 30 minutes to semi-set. Hold onto plastic wrap and pulling upwards to pop bars out.
  6. Using a large knife, slice into 8-10 rectangular pieces. Place bars on a plate and keep in freezer for at least 3 more hours to set.

Let thaw at least 1 hour before serving.

12081554_10156095125695133_2056439763_n 12086956_10156095125660133_31178803_n